template
A4 Bleed Template
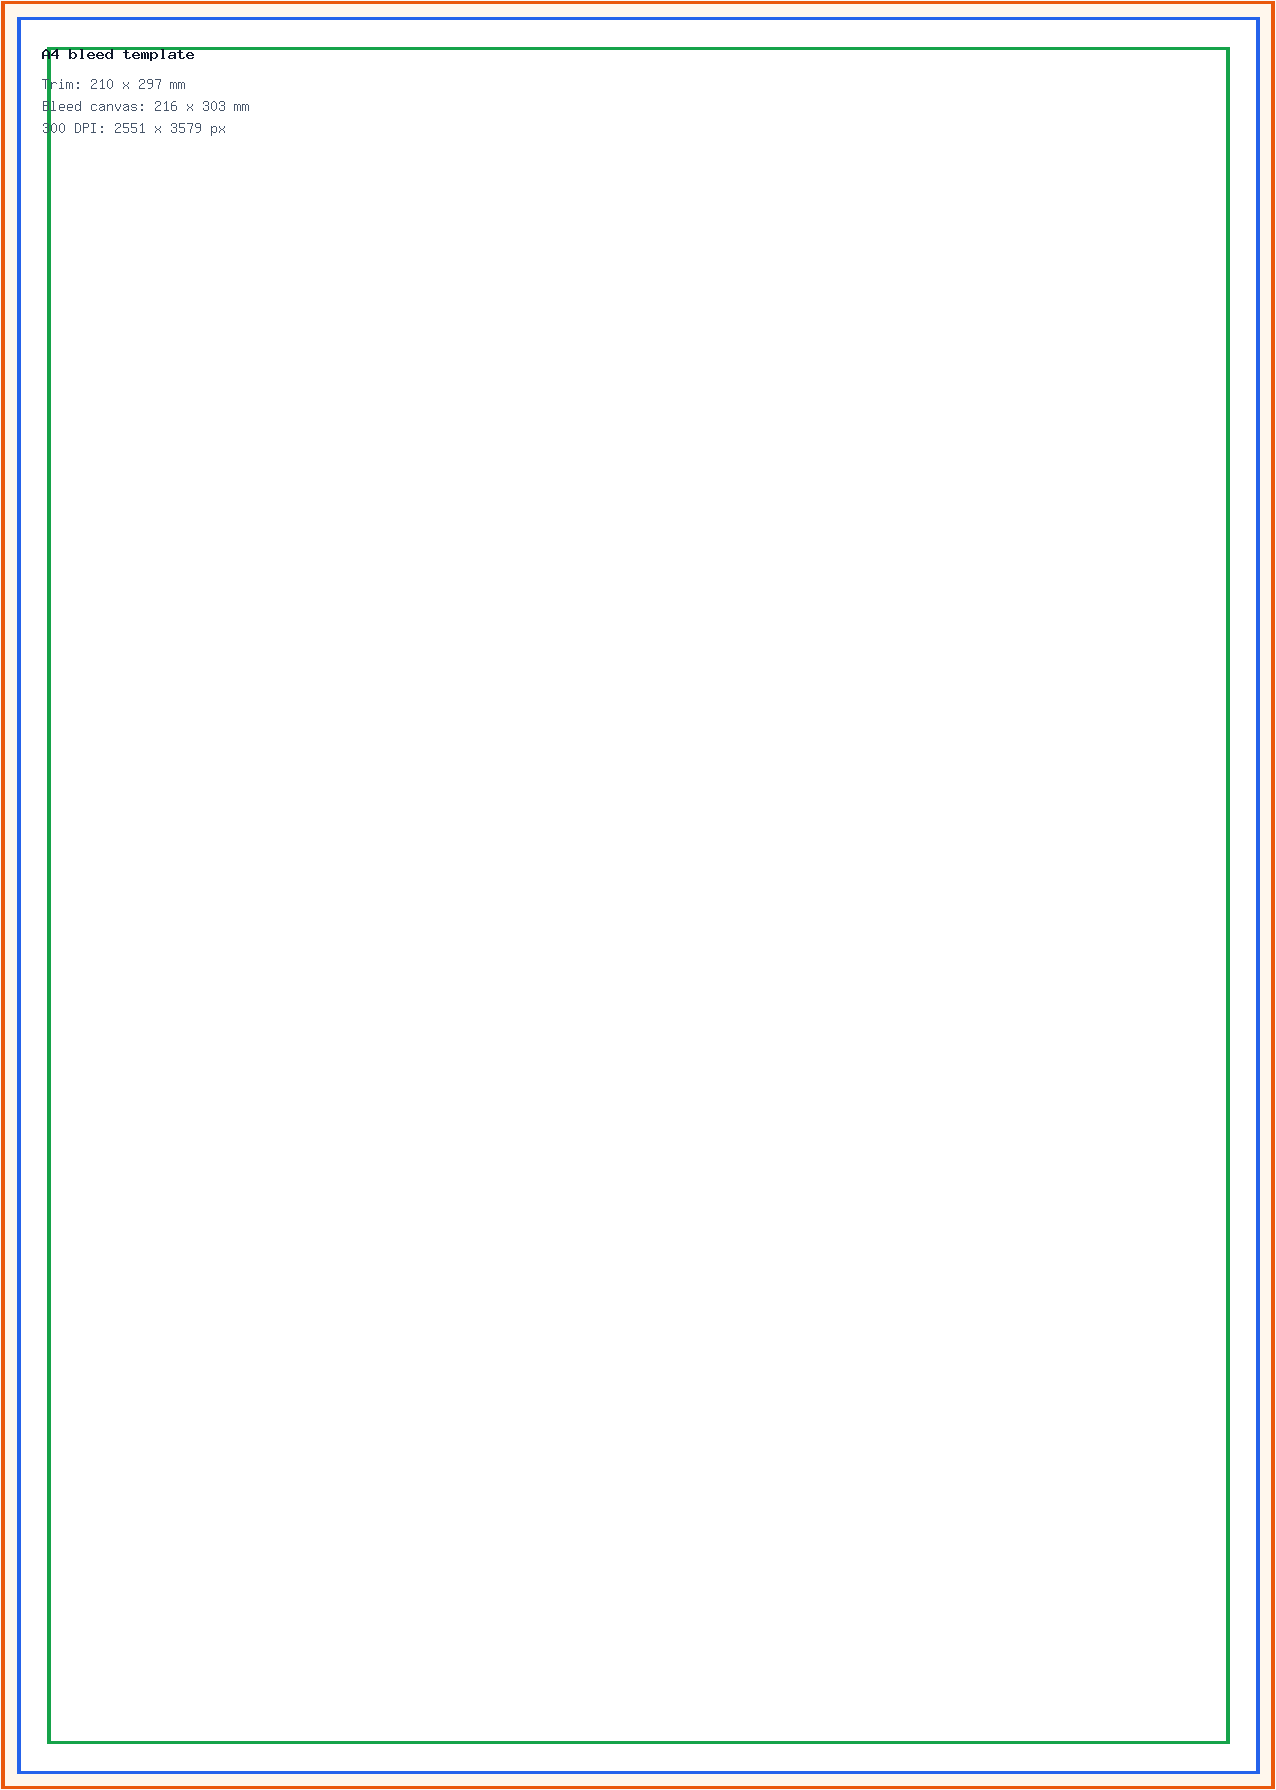
Use this A4 bleed template with 210 × 297 mm trim, 3 mm bleed, 216 × 303 mm canvas size and 2551 × 3579 px at 300 DPI.
Last checked: 2026-05-03
How we calculate this
Methodology and source handling
We start with the finished trim size, add bleed on every side, then calculate the raster pixel canvas from the full bleed size.
Quick answer
Copy-ready answer
For an A4 print file with 3 mm bleed, set the finished trim size to 210 × 297 mm and the full bleed canvas to 216 × 303 mm. At 300 DPI, the bleed-ready canvas is about 2551 × 3579 px. Keep important text, logos and QR codes inside a safe margin away from the trim edge.
Safe area
Design inside the crop-safe area
Use this guide to keep text, logos, faces, products, and calls to action away from crop-risk edges.
Dimensions and specs
| Trim size | 210 × 297 mm | |
|---|---|---|
| Bleed per side | 3 mm | |
| Full bleed size | 216 × 303 mm | |
| Safe margin | 3–5 mm inside trim | |
| 300 DPI bleed canvas | 2551 × 3579 px | |
| 300 DPI trim size | 2480 × 3508 px |
Formula
How to calculate this size
Export at the recommended pixel canvas before upload or handoff.
Reduce width and height by their greatest common divisor.
Use fit for no crop, fill or center crop for exact coverage, or pad when borders are acceptable.
Export checklist
Before you upload
Create the artboard at the template dimensions before placing content.
Keep critical details inside the safe zone and treat the outer edge as crop or bleed risk.
Resize a finished image locally when the destination needs a PNG, JPG, or WebP export.
Common mistakes
Avoid these template setup mistakes
Keep the most important content inside the guide area so responsive crops, bleed trimming, or platform overlays do not hide it.
Scaling the template into a different shape can stretch artwork or crop text; compare sizes before adapting.
Keep the editable SVG or source layout, export PNG/JPG for upload, and use PDF when you need a handoff or print guide.
Templates
Download starter files
Use the SVG, PNG, or PDF starter as a visible guide for the full canvas, safe area, bleed, and crop-risk edges.
Calculator
Check aspect ratio and screen pixels
Use the prefilled target, swap orientation if needed, and copy the reduced ratio before preparing screenshots or previews.
Compare
Compare A4 Bleed Template
Open a curated comparison or send both sizes into the compare tool with a fragment URL.
Workflow
Use A4 Bleed Template in a finished file
Start with where the file will be printed, uploaded, displayed, or delivered.
Use the dimensions, pixel target, aspect ratio, and formula before building the file.
Preview the final file against the required size, crop behavior, and source notes.
Assets
Downloadable A4 production assets
Download the SVG guide for vector layout, the PNG preview for quick visual checks, or the PDF layout guide for a printer-facing reference.
| Asset | Use |
|---|---|
| SVG guide | Import into layout tools or inspect the exact 216 x 303 mm bleed, 210 x 297 mm trim, and safe-area boxes. |
| PNG preview | Share or preview the guide quickly without opening a vector editor. |
| PDF guide | Use as a print handoff note for trim, bleed, safe area, and 300 DPI raster canvas values. |
Setup
Copy-ready setup values
| Tool | Setup |
|---|---|
| Canva | Create an A4 design, turn on print bleed, extend backgrounds to the bleed edge, and export PDF Print with crop marks and bleed when required. |
| Photoshop | Create a 2551 x 3579 px canvas at 300 PPI. Add trim guides 35 px inside each edge and keep important content at least 3-5 mm inside trim. |
| Illustrator/InDesign | Create a 210 x 297 mm document with 3 mm bleed on all sides. Export PDF with bleed included. |
| Figma | Create a 2551 x 3579 px frame for raster work, then add rectangles for the 2480 x 3508 px trim and safe-area guides. |
Template
Safe-area, bleed, and crop notes
Use the downloadable guide as the full canvas. Keep critical content inside the safe area, extend backgrounds to bleed or crop-risk edges when needed, and export only after checking the destination page.
| Download | Best use |
|---|---|
| SVG | Editable vector starter file for layout tools. |
| PNG | Quick raster preview or upload starting point. |
| Shareable layout guide for print, handoff, or review. |
Related
Related pages and tools
Same branch
Nearby pages
FAQ
Common questions
What size is A4 with 3 mm bleed?
A4 with 3 mm bleed on every side is 216 × 303 mm.
What pixel size is A4 with bleed at 300 DPI?
A4 with 3 mm bleed is about 2551 × 3579 px at 300 DPI.
Is the A4 trim size 210 × 297 mm or 216 × 303 mm?
The finished A4 trim size is 210 × 297 mm. The 216 × 303 mm value includes 3 mm bleed on all four sides.
How much safe margin should I use for A4?
Use at least 3–5 mm inside the trim edge for important text and logos, or follow your printer’s template if it gives a specific safe margin.
References
Sources and references
Pixel dimensions are calculated from the full bleed size using 300 DPI. Printer-specific bleed and safe-area requirements can vary.
- Adobe InDesign Help: Printer’s marks and bleeds
- Adobe Photoshop Help: Set image size and resolution
- ISO 216 paper size reference
Last checked: 2026-05-03